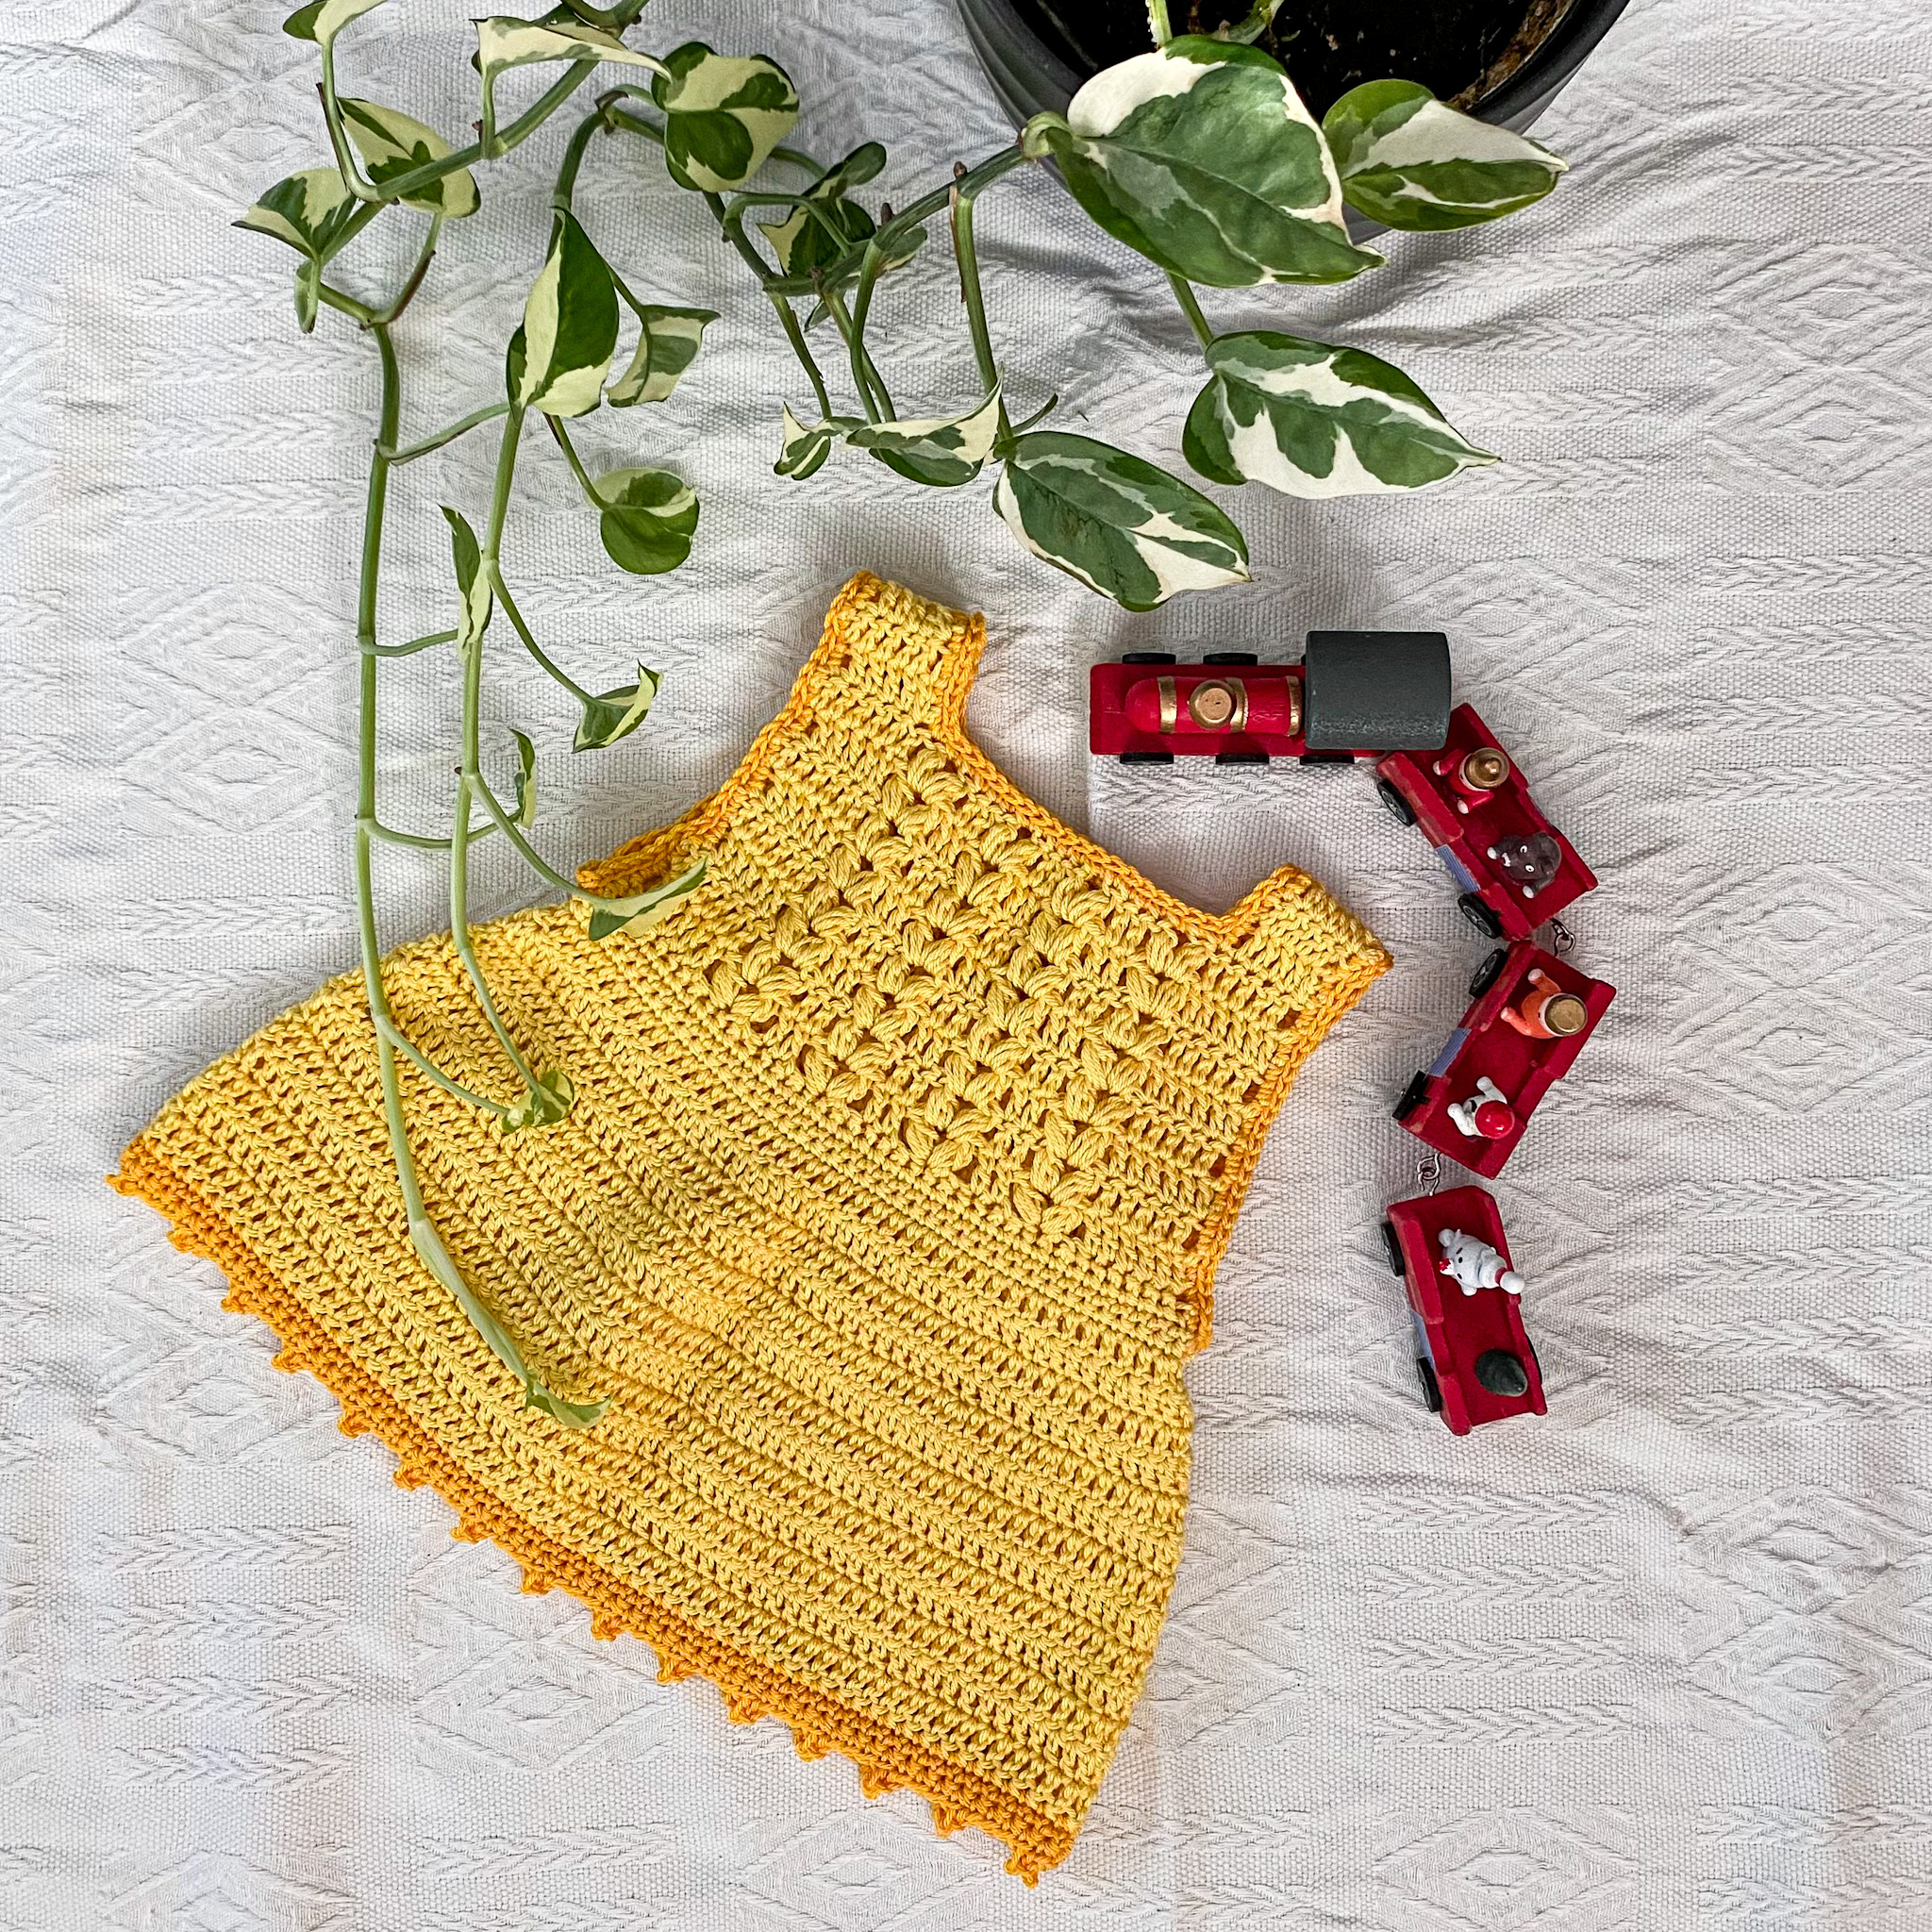
Hello maker friends! Today I’m bringing you a freebie – crochet pattern for the cutest little baby dress.
This was my second attempt at making a baby garment, naturally inspired by my baby girl and made for her. I made the Oleander Sundress in a newborn size and had strong intentions afterwards of grading it for bigger sizes, but up until today I still haven’t had the chance to do it (read: was lazy at first, then had baby and had no time 😀).
So I decided to share the pattern in this one size FOR FREE here on my blog with all of you! And who knows, someday I might even find some time to grade it for bigger sizes as well. 😀
So, without further ado, below you’ll find all the details on how to make the Oleander Sundress (newborn size) for your little one. Have fun!
Basic info
ABOUT
- pattern difficulty: advanced beginner/intermediate
- pattern terminology: US
FINISHED SIZE
Finished dress size for a newborn (0 – 3 months) without blocking measures approximately 18 cm (7”) in width across chest and 28 cm (11”) in length (shoulder top to skirt bottom).
MATERIALS & NOTIONS
- yarn: Hana by Unitas Threads – for a newborn size approx. 250 m (275 yds)
- good substitutes: Schachenmayr Catania Originals, Scheepjes Catona, Mondial Cotton Soft Bio, any sport/fine weight cotton yarn
- 3.5 mm crochet hook
- measuring tape
- tapestry needle
- scissors
- stitch markers (optional)
GAUGE
Make sure to meet below two specified gauges in order to get the same measurements on your finished dress.
- HARVEST STITCH SWATCH
- 23 sts x 9 rows = 10 x 10 cm (4” x 4”) following the below pattern.
- PURE DC SWATCH
- 20 DCs x 11 rows = 10 x 10 cm (4” x 4”)
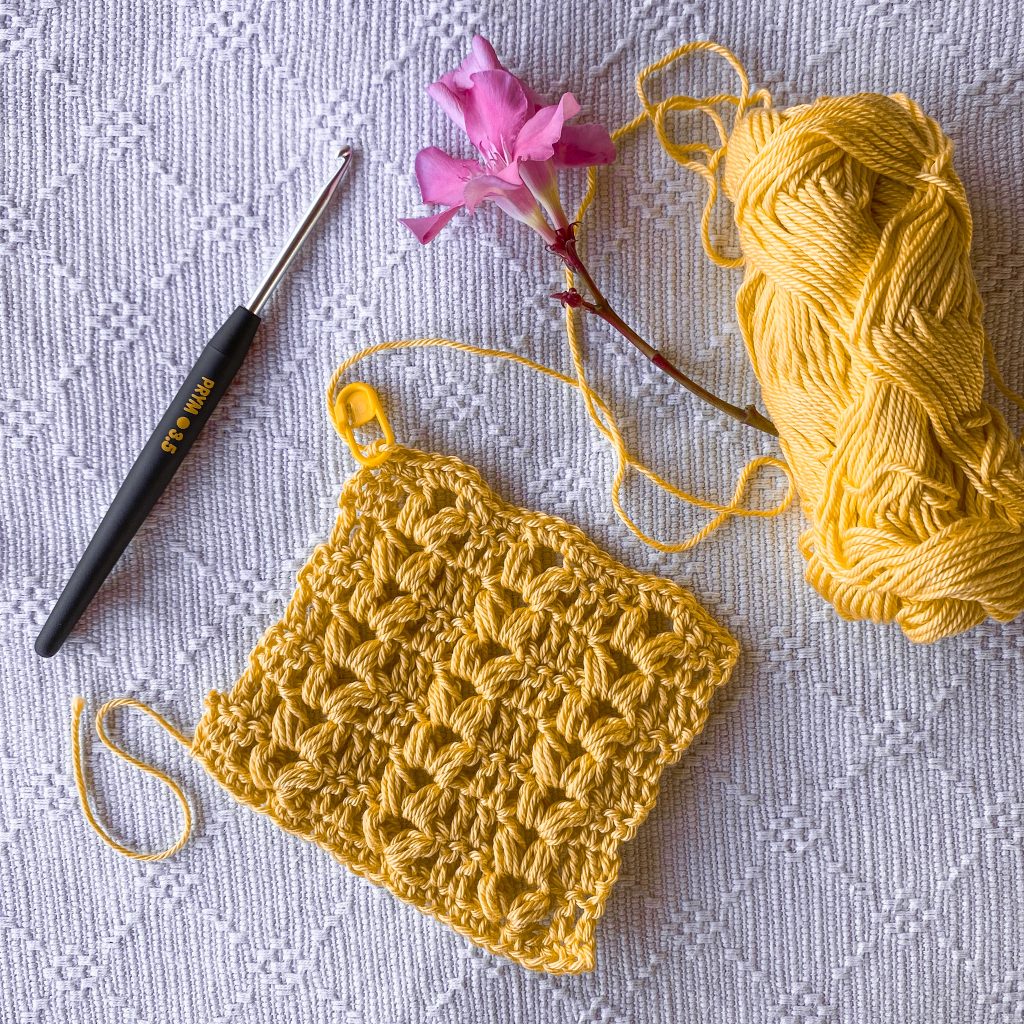
HARVEST STITCH PATTERN
Row 1: FSC 23, turn. [23 sts]
Row 2: ch2 (does not count as a st), DC in first st and next st, {sk next 2 sts, (puff, ch2, puff) in next st, sk next 2 sts, DC in next 2 sts}, rep {} two more times, DC in last 2 sts, turn. [8 DCs + 3 puff groups made]
Row 4: ch2, DC in first st and next st, {(puff, ch2, puff) in next ch-2 sp from prev row, DC in next 2 sts}, rep {} two more times, DC in last 2 sts, turn. [8 DCs + 3 puff groups made]
Row 4-8: Rep Row 3 five more times
Row 9: ch1 (does not count as a st), *SC in first/next two DC sts, SC in puff st across, 3 SC in ch-2 space, SC in puff st, rep from * two more times, SC in last 2 DCs. [23 sts]
ABBREVIATIONS
- ch – chain
- st (sts) – stitch (stitches)
- sk – skip
- rep – repeat
- prev – previous
- sl st – slip stitch
- FSC – foundation single crochet → see SPECIAL STITCHES for instructions
- SC – single crochet
- DC – double crochet
- puff – puff stitch → see SPECIAL STITCHES for instructions
- picot – picot stitch → see SPECIAL STITCHES for instructions
SPECIAL STITCHES & PATTERN NOTES
- FSC – foundation single crochet
- Begin with a slip knot on your crochet hook, then chain two. Insert hook into the first chain stitch, yarn over and pull up a loop (2 loops on the hook). Yarn over and pull through the first loop on the hook (chain stitch created, you can mark it with a SM to help remember where it is). Yarn over and pull through both of the loops on your hook – first FSC made and 1 loop remaining on the hook. * To create the next FSC, insert the hook into that created chain stitch marked with SM. Yarn over and pull up a loop (2 loops on the hook). Yarn over and pull through the first loop on the hook (another chain stitch created). Yarn over and pull through both loops on the hook (second FSC made). Repeat from * until you have the number of FSC the pattern calls for.
- PUFF STITCH – Yarn over, insert hook in the indicated stitch and pull up a loop (3 loops on the hook). * Yarn over, insert hook in the same stitch, yarn over and pull up a loop (5 loops on the hook). Repeat from * one more time (7 loops on the hook). Yarn over and pull through the first 6 loops on the hook (2 loops on the hook). Yarn over and pull through the remaining 2 loops on the hook – puff stitch completed.
- PICOT STITCH – Find the video tutorial with instructions HERE on my Instagram! 🙂
- ch1 and ch2 at beginning of each row/round do not count as stitches
Pattern
CONSTRUCTION
Upper part of the dress is done as two separate identical panels, crocheted in turning rows. The panel pattern consists of a combination of DC stitches and harvest stitch pattern. The upper part of the skirt is done bottom up. After both panels are completed, they are seamed together at the shoulder.
Lower part of the dress is the skirt part, which is done in all DC stitch pattern and in rounds with turning your work. Skirt is crocheted from the waist down, by attaching the yarn at the bottom part of the upper panel and starting to crochet in rounds. The trim of the skirt is made by crocheting 2 SC rows and one picot row.
PATTERN INSTRUCTIONS
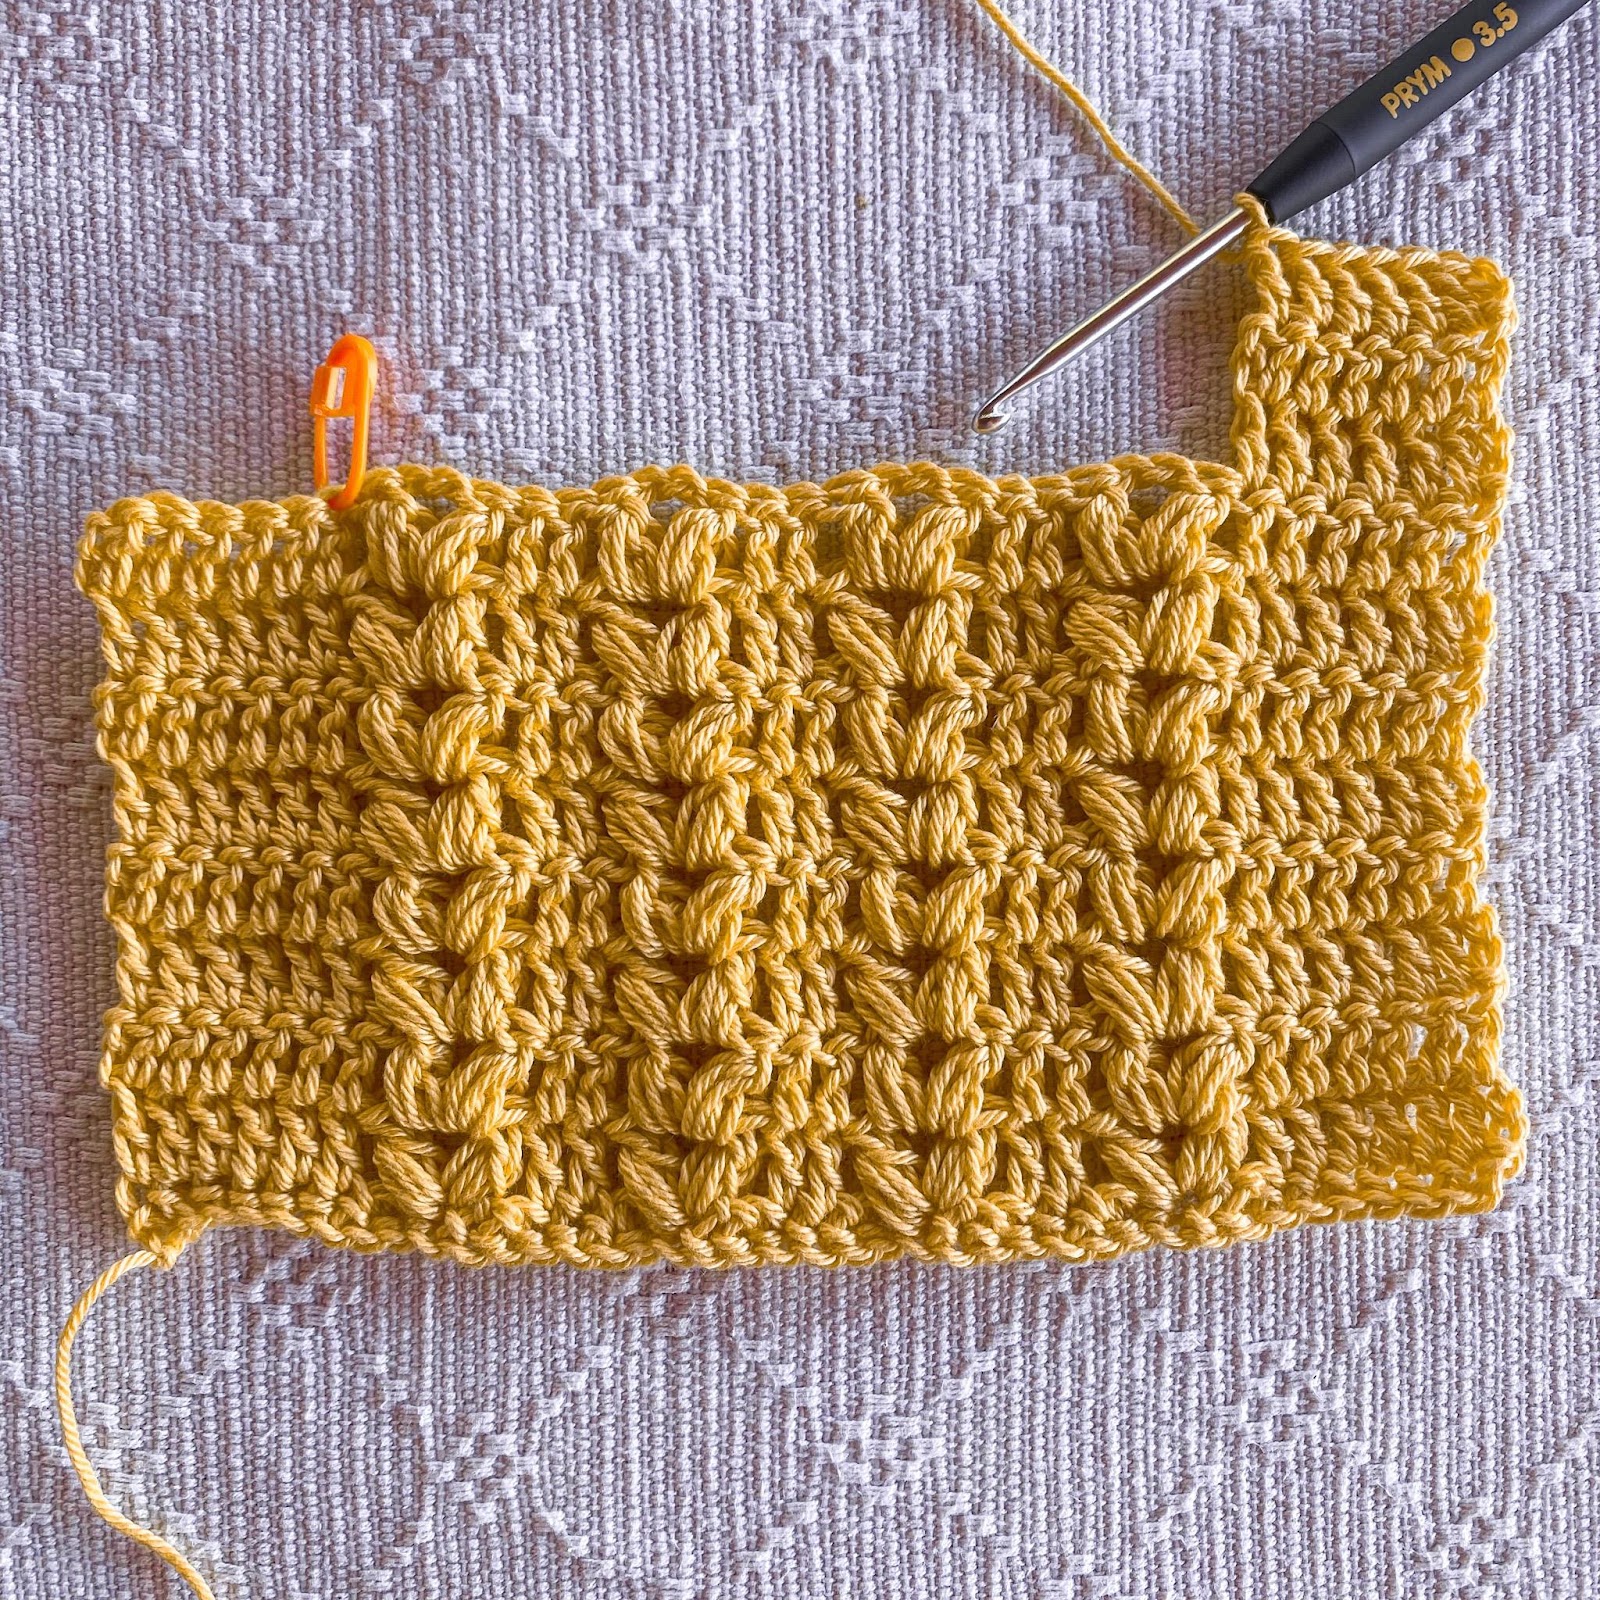
Upper panel
Make 2 identical panels, then seam together. Done bottom up, in rows, with turning your work at the end of each row.
Start with making the body of the upper panel first.
Row 1: FSC 38, turn. [38]
Row 2: ch2, DC in first st and next 5 sts, {sk next 2 sts, (puff, ch2, puff) in next st, sk next 2 sts, DC in next 2 sts}, rep {} three more times, DC in next 4 sts, turn. [18 DCs + 4 puff groups made]
Row 3: ch2, DC in first st and next 5 sts, {(puff, ch2, puff) in next ch-2 sp from prev row, DC in next 2 sts}, rep {} three more times, DC in next 4 sts, turn. [18 DCs + 4 puff groups made]
Row 4-9: Rep Row 3 six more times. Do not fasten off, continue to shape for the first shoulder.
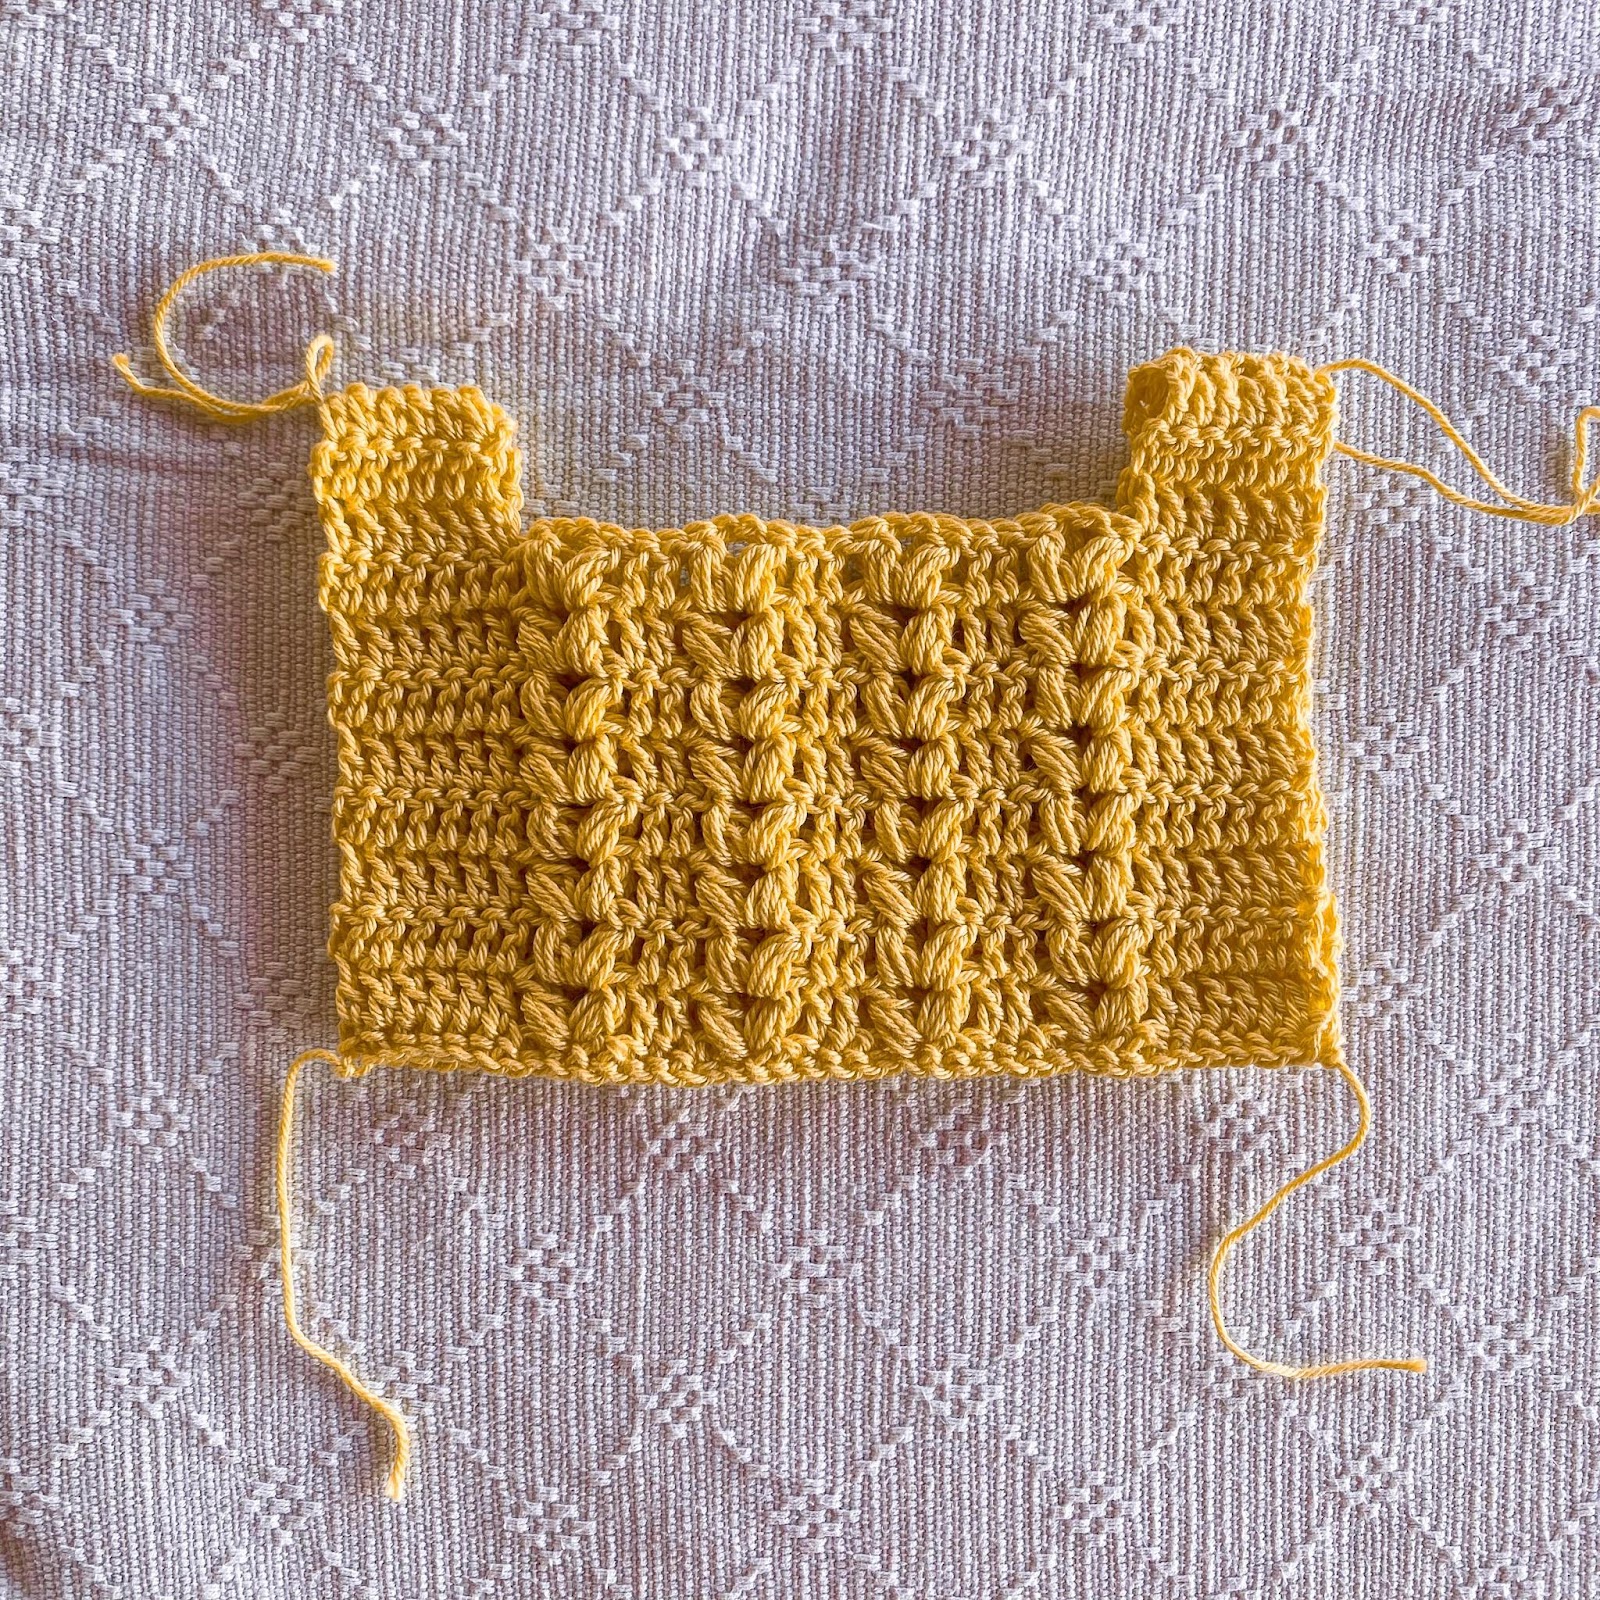
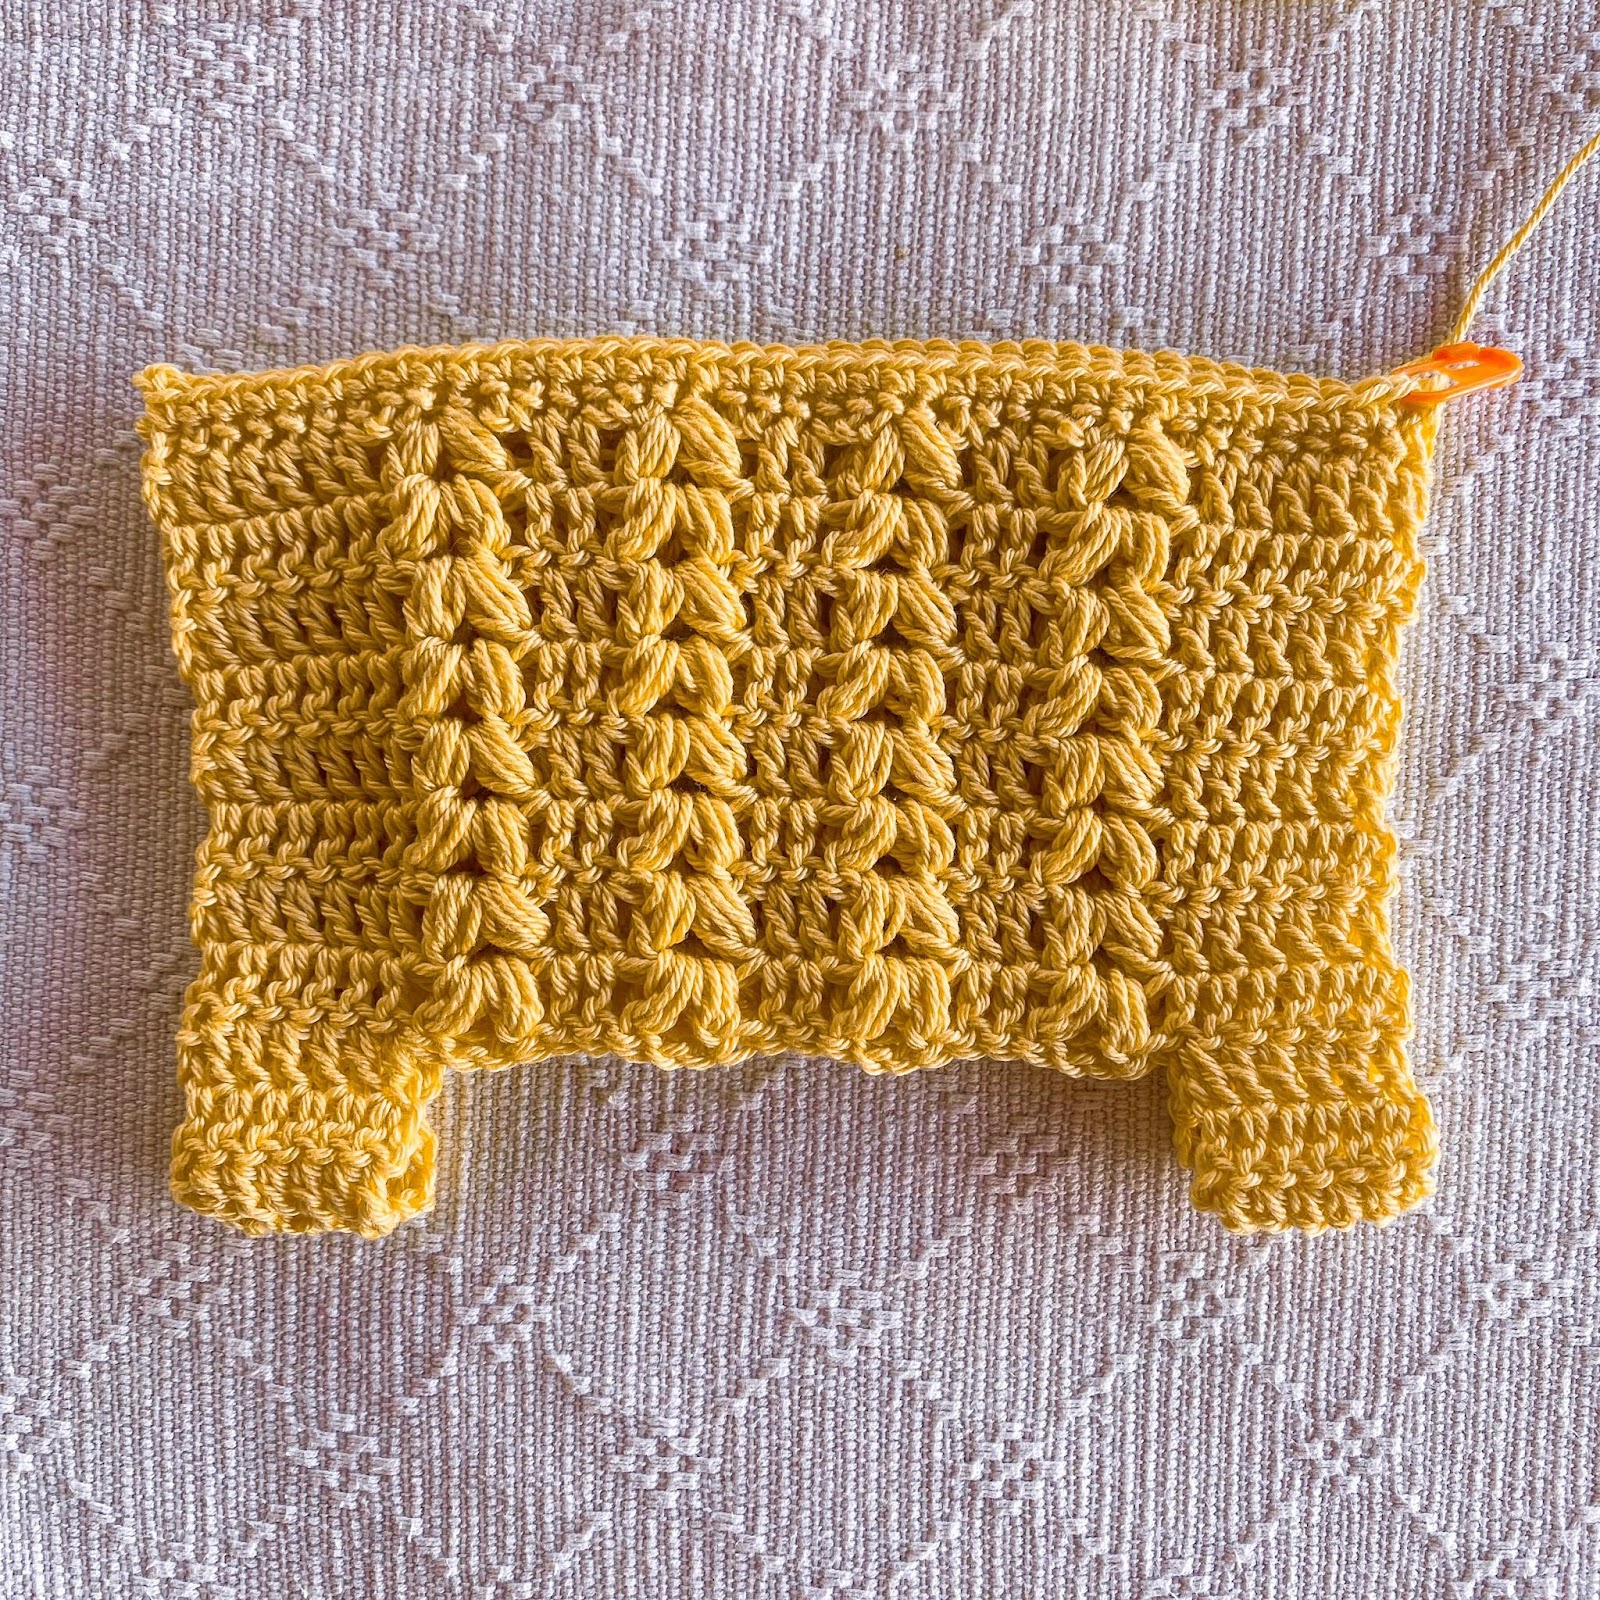
Row 10: ch2, DC in first st and next 5 sts, turn. [6 sts]
Row 11-12: Rep Row 10. Fasten off.
Go back to the last row of the body (Row 9), count 6 sts from left to right and attach yarn in the 6th st (last DC before the first puff group, see leftmost image below for reference).
Start shaping the second shoulder – rep Row 10-12, same as for the first shoulder.
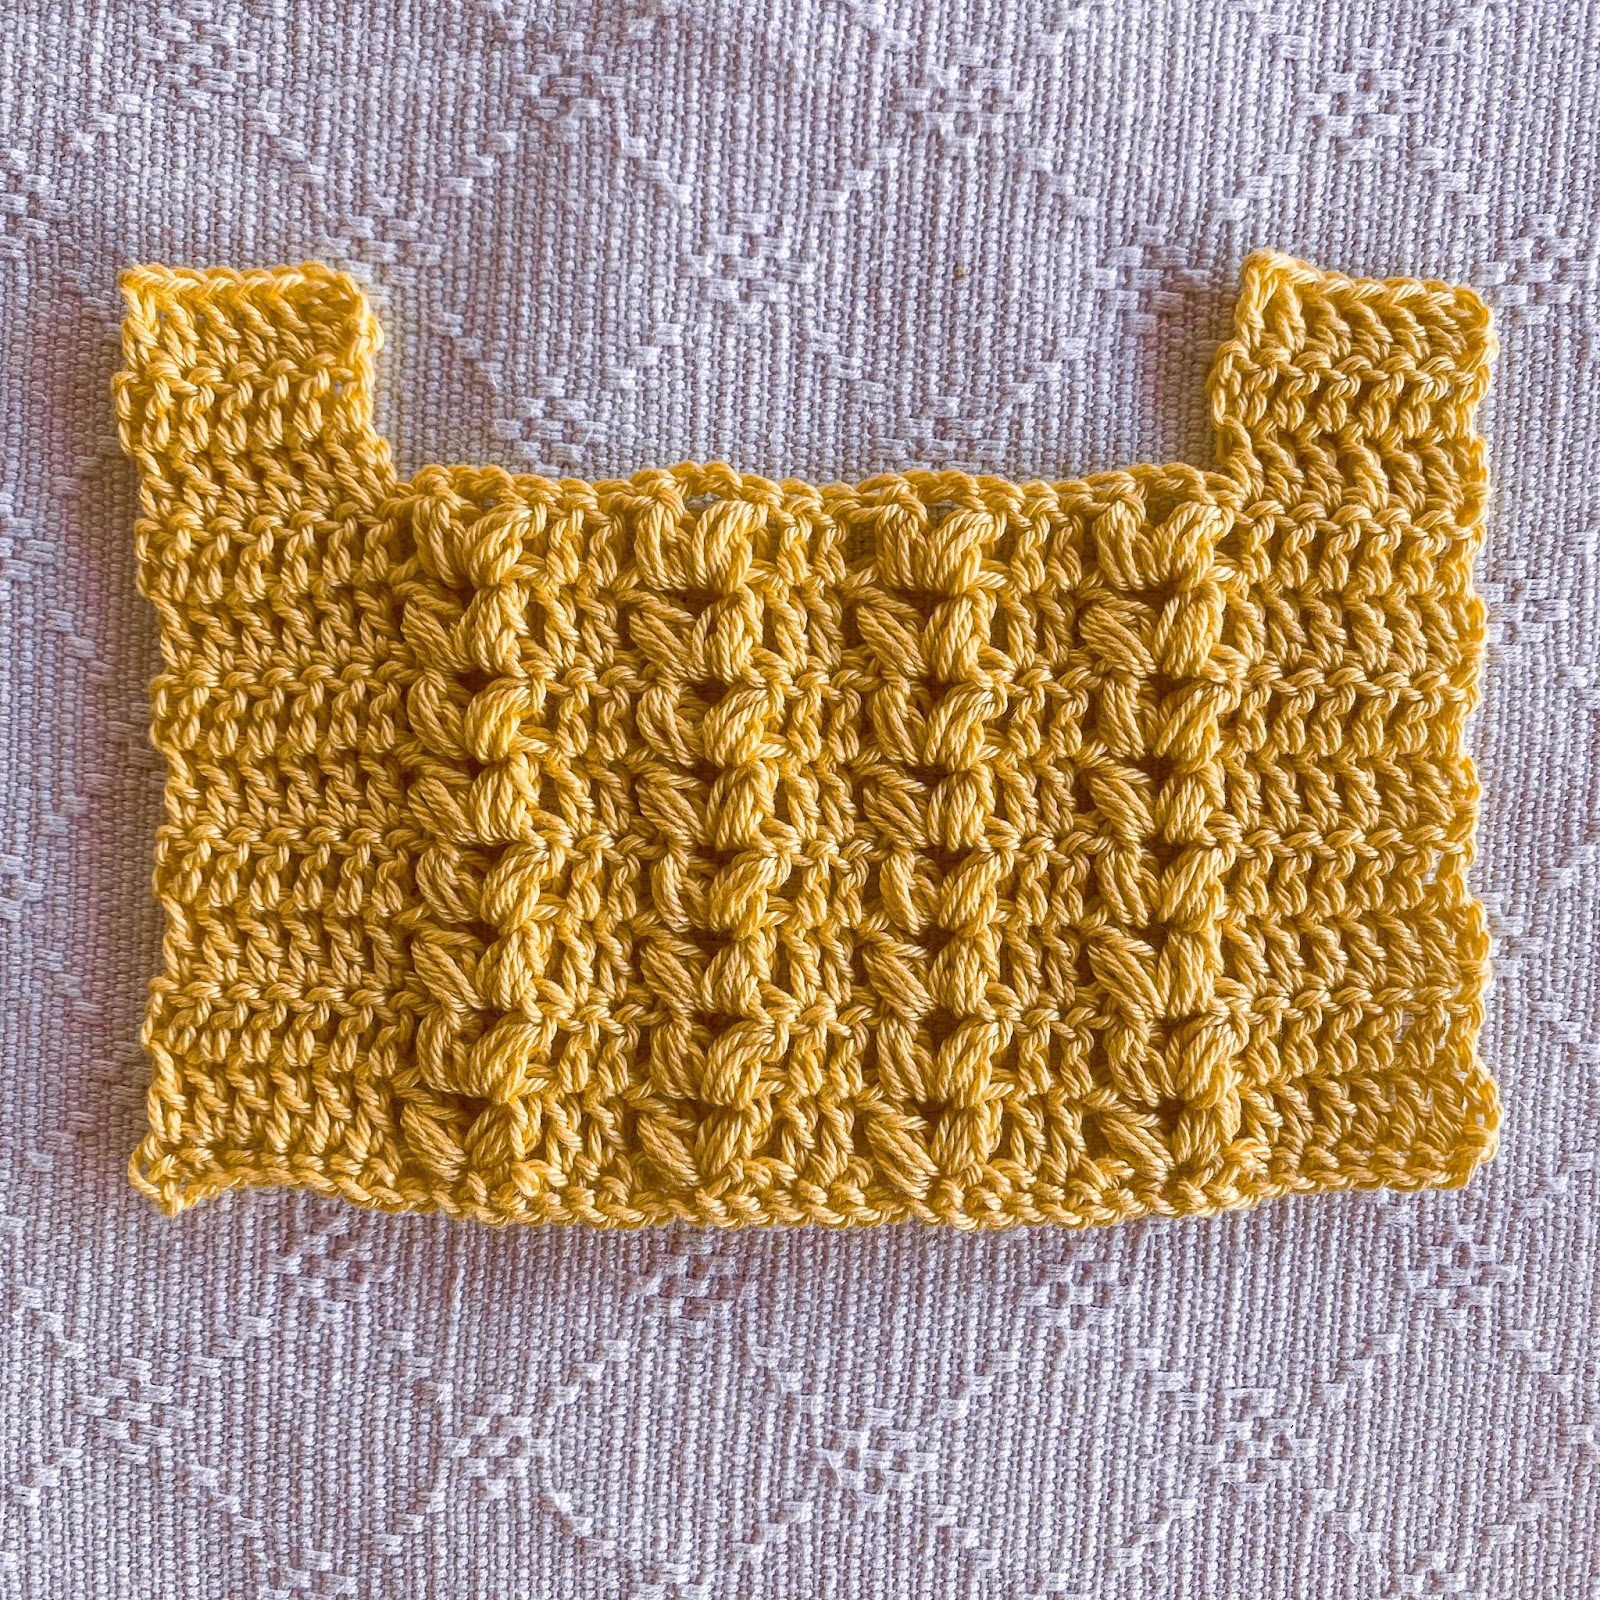
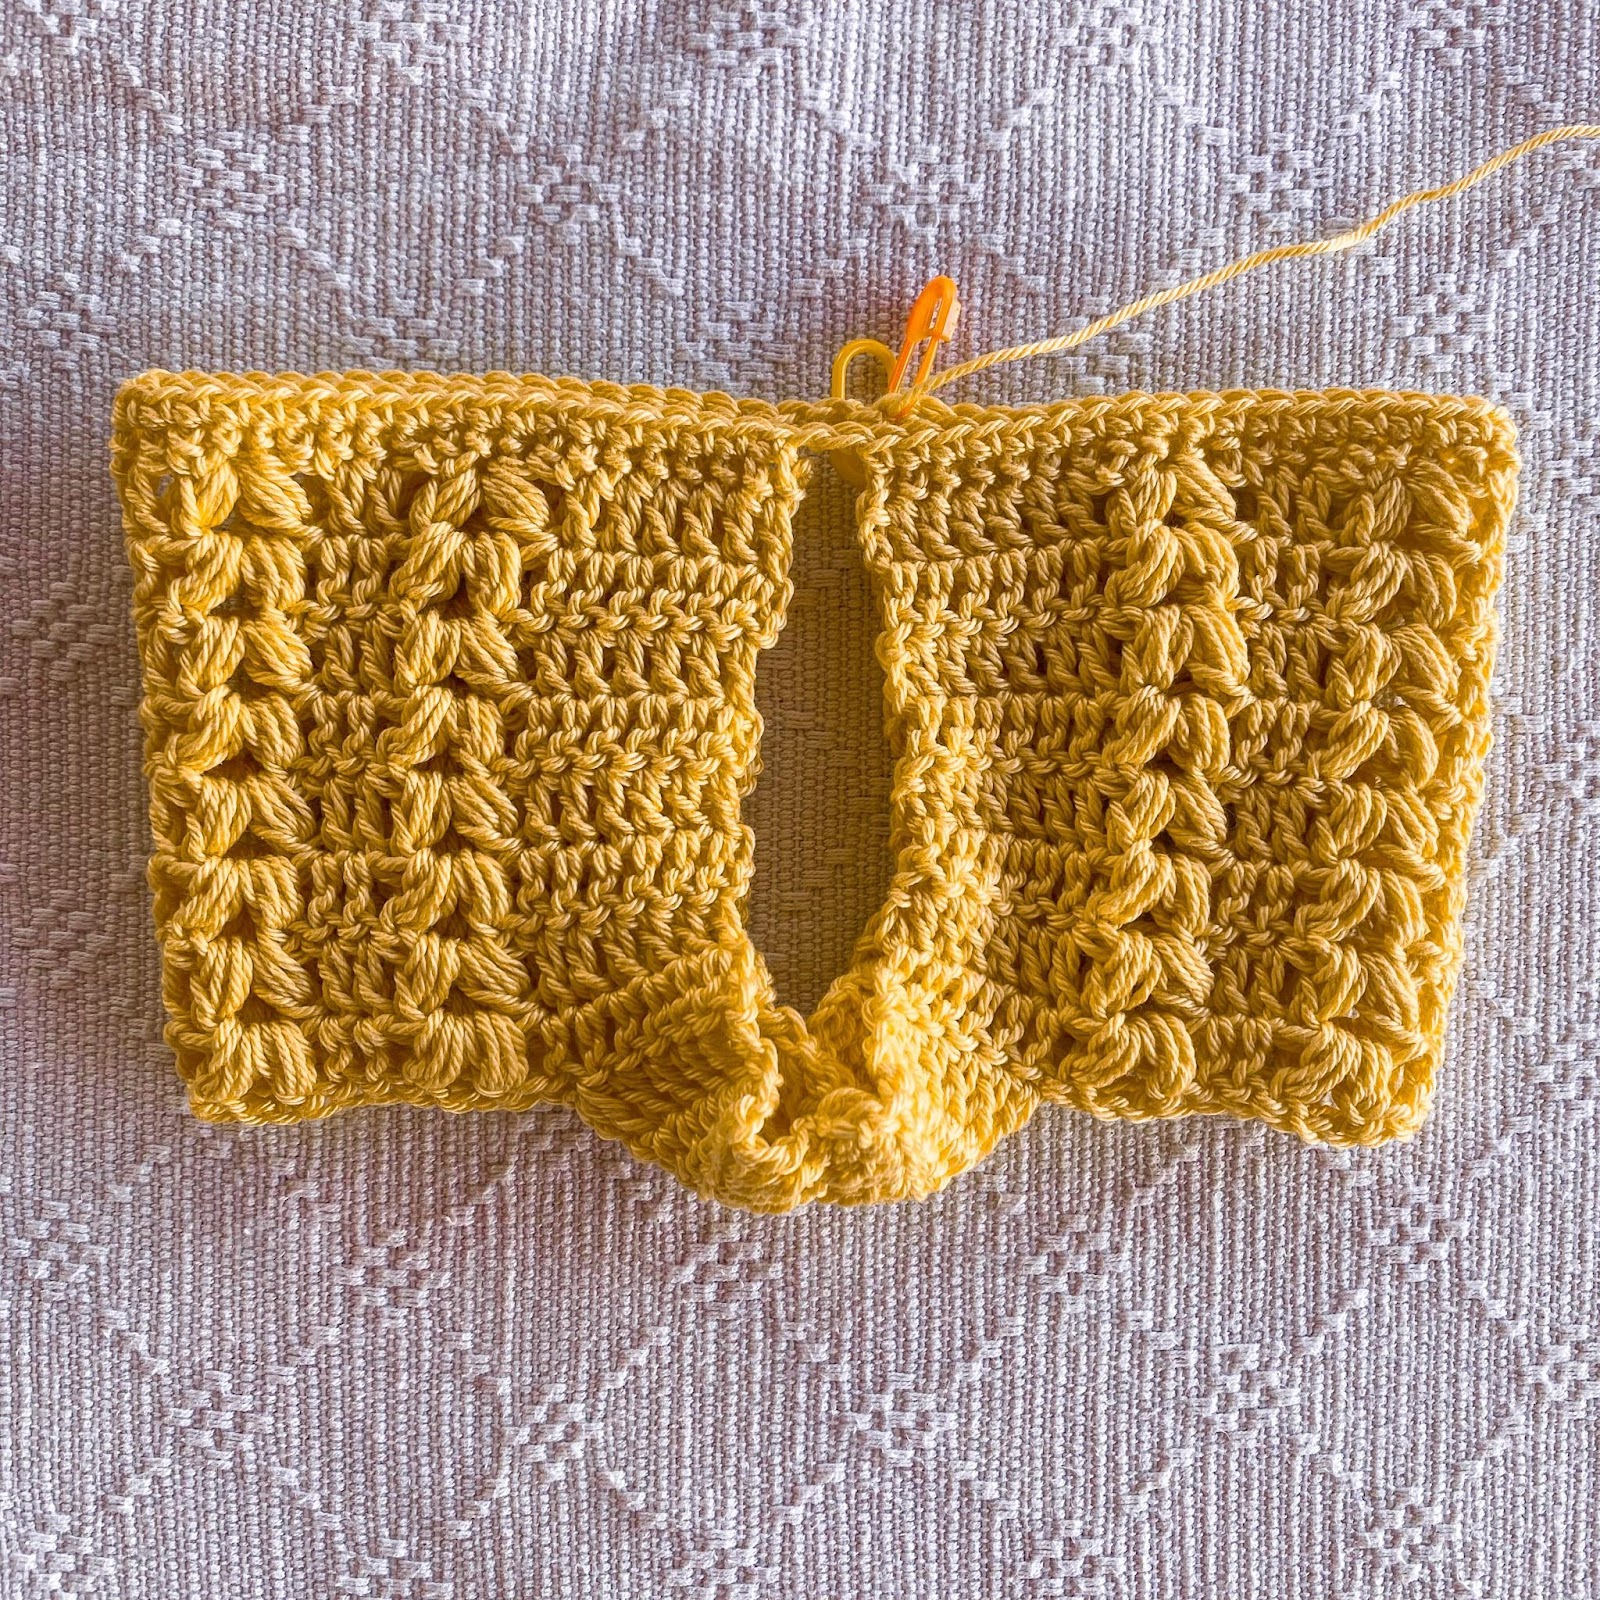
Make another upper panel identical to this one, then seam together at the shoulders, as indicated in the above rightmost picture.
After joining the two upper panels, attach yarn at either side of the bottom edge and continue to make the skirt (see below two images for reference).
Skirt
Done waist down, in rounds, with turning your work at the end of each round.
Round 1: ch1, SC in all 38 sts of the first half of the waist, ch2, SC in all 38 sts of the second half of the waist, ch2, sl st to first SC of the round, turn. [80 sts]
Round 2: ch1, SC in every st of the round (take care to place 2 SC in each of the ch-2 spaces from prev round), sl st to first SC of the round, turn. [80 sts]
Round 3: Rep Round 2.
Round 4: ch2, DC in every st of the round, sl st to first DC of the round, turn. [80 sts]
Round 5: ch2, {DC 3, 2 DC in next st}, rep {} until end of round, sl st to first DC of the round, turn. [100 sts]
Round 6-7: Rep Round 4. [100 sts]
Round 8: ch2, {DC 4, 2 DC in next st}, rep {} until end of round, sl st to first DC of the round, turn. [120 sts]
Round 9 – 16: Rep Round 4. [120 sts]
Round 17-18: ch1, SC in every st of the round, sl st to first SC of the round, turn. [120 sts]
Round 19: ch1, {SC 4, picot in the top of the 4th SC}, rep until end of round making sure to finish with a picot st, sl st to first SC of the round. [30 picots total in the round]
Fasten off.
Go to Trim for neckline and armholes.
Trim for neckline and armholes
With the right side facing you, attach yarn under arm for armholes trim or at either shoulder for neckline trim. Repeat below rounds for every armhole and neckline. Number of sts in the round is not important, rather keeping the same tension so that sts are evenly spaced.
Round 1: ch1, SC in evenly around the armhole/neckline st, sl st to first SC of the round.
Round 2: ch1, sl st in every SC from Round 1, sl st to first st of the round. Fasten off. Weave any remaining loose ends.
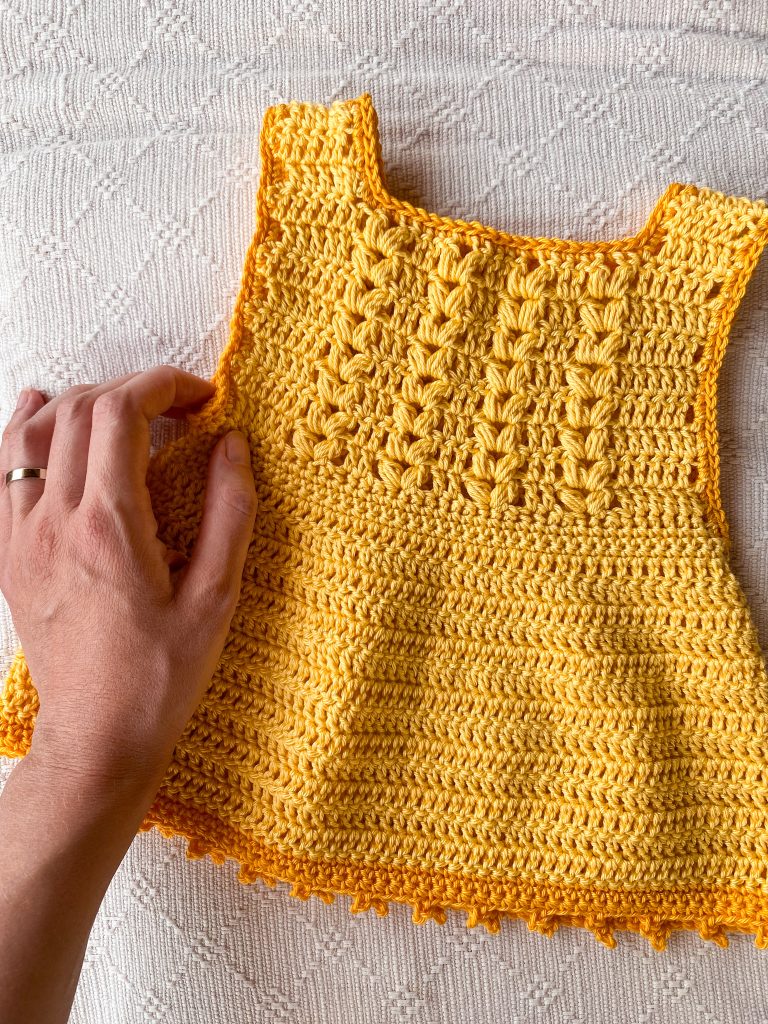
Voilá! Your Oleander Sundress is complete! 🙂 Hope you had fun making it! Feel free to share your work by tagging me @tasha.and.yarn on your Instagram post(s) and using #OleanderSundress.
xo
Natasha